Software fixes are distributed in the form of service packs. The service pack CD-ROM contains fixes for all configurations and products available at the time it is built. Each service pack supersedes the previous ones and may be installed on top of the released level or on top of a previous service pack. No individual corrections are delivered in between two service packs. Service packs are made available on a regular basis. Delivery is synchronized for Windows and UNIX platforms.
Installing a service pack also involves committing or rolling back a service pack. For more information, refer to Committing and Rolling Back Service Packs.
Installing a Service Pack Using the GUI on Windows
You must belong to the Administrators group, or have the privileges assigned to the Administrators group. Otherwise, you will not be able to start the installation.
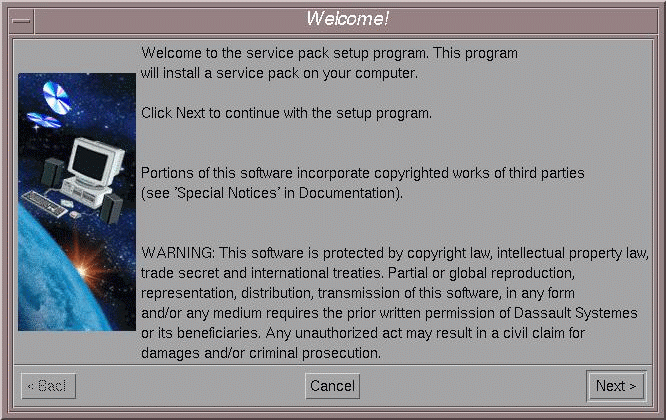
The installation starts automatically, and the Welcome dialog box appears:

If any Dassault Systemes processes are still running, preventing correct service pack setup, the setup program detects them and prompts you to terminate them. If so, click the Yes button to terminate the processes and continue.
The Dassault Systemes Service Pack dialog box then appears:

Note that if you installed the same GA release in more than one location, you will be prompted to select from a list the destination folder to which you want to apply the service pack.
This also means that you must perform a separate service pack installation, each time selecting the appropriate destination folder for each GA. Installing the service pack just once in one destination folder is not sufficient.
Installing a service pack also involves committing or rolling back a service pack. For more information, refer to Committing and Rolling Back Service Packs.
During the installation, you can choose to commit the service pack automatically. This is useful when you want to save disk space.
If you do not commit the service pack during the installation, and certain code components are redelivered with the service pack (for example, shells, executable files), the new version of the component is installed and the previous version of the component is saved using the following naming convention:
MyShell.BeforeSPK
where "MyShell" is the component name.
The Recap dialog box is displayed:

The Setup complete dialog box appears:

7. Click the Finish button once the setup phase is complete.
An installation log will be created (or updated) in the current temporary directory, in one of the following locations:
- The path specified by the TMP environment variable
- The path specified by the TEMP environment variable, if TMP is not defined
- The path specified by the USERPROFILE environment variable, if TEMP is not defined
in a file named:
cxinst.log
If not created in any of these locations, it will be created here:
C:\cxinst.log
Installing a Service Pack in Batch Mode on Windows
Note that, if your Version 5 software is delivered on more than one CD-ROM, you can:
- copy all the software into the same folder
- or, given that the software is distributed on several CDs ( 1, 2 ...), copy the contents of each CD into a separate folder for each CD, making sure that the name of each folder corresponds to the CD number ( 1, 2 ...) etc.
When the installation starts automatically, interrupt it.
Intel directory.StartSPKB
The syntax of the command is as follows:
-u: specifies the installation to which you want to apply
the service pack (useful if you installed several identical releases in
different locations on the same computer)-b: installs the
service pack(-b is optional) but does not commit the service pack
-bC: installs the service pack and commits the service pack
automatically
-v: verbose mode
-killprocess: detects running processes (for example, Orbix)
in the installation folder (unload_dir\code\bin)
and terminates them before installing the service pack; at the end of the
installation, the Orbix process is restarted.
-h: help.
Error Codes
The following error codes may appear for a service pack installation:
| 0 | Installation OK |
| 1 | Insufficient privilege |
| 2 | Bad environment |
| 4 | Bad media |
| 5 | Bad options |
| 6 | No installed GA |
| 8 | Installation problem |
| 9 | Allocation problem |
| 10 | No need to install service pack |
Installing a Service Pack Using the GUI on UNIX
./start -s
- the service pack will be installed automatically in the same directory as the current release: on UNIX, if you installed the current release elsewhere than in the default location, you will be prompted to enter the path
- you are not allowed to choose configurations or products: the service pack CD-ROM contains fixes for all configurations and products available at the time it is built. Fixes are installed for the configurations and products detected in your installation.
- unlike a normal installation, you are not allowed to start a session directly at the end of the installation procedure.
The Choose Destination Location dialog box appears:
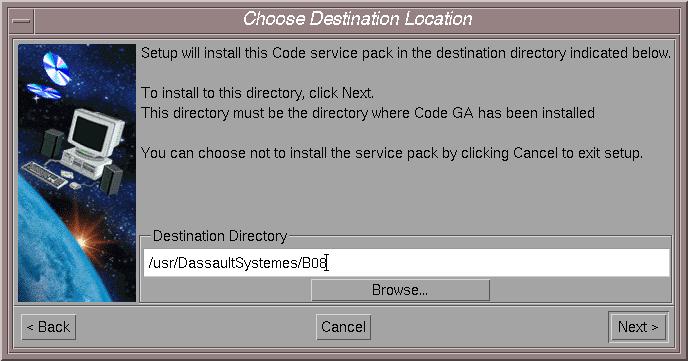
The service pack will be installed automatically in the same directory as the current release: on UNIX, if you installed the current release elsewhere than in the default location, you will be prompted to enter the path.
By default, the service pack setup tool will install the service pack in the destination directory displayed, for example:
/usr/DassaultSystemes/B20
The directory you choose must be empty. You can also specify a new directory which will be created after confirmation.
The Dassault Systemes Service Pack dialog box is displayed:
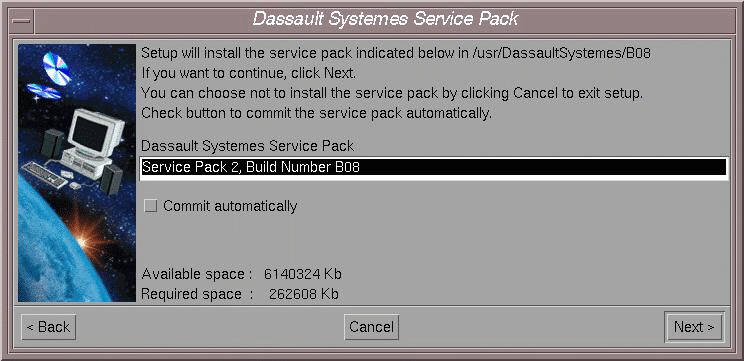
The dialog box specifies:
- the service pack level
- the build number.
Note that if you installed the same GA release in more than one location, you will be prompted to select from a list the destination folder to which you want to apply the service pack.
This also means that you must perform a separate service pack installation, each time selecting the appropriate destination folder for each GA. Installing the service pack just once in one destination folder is not sufficient.
Installing a service pack also involves committing or rolling back a service pack. For more information, refer to Committing and Rolling Back Service Packs.
During the installation, you can choose to commit the service pack automatically. This is useful when you want to save disk space.
If you do not commit the service pack during the installation, and certain code components are redelivered with the service pack (for example, shells, executable files), the new version of the component is installed and the previous version of the component is saved using the following naming convention:
MyShell.BeforeSPK
where "MyShell" is the component name.
The Recap dialog box is displayed:

- you are not allowed to choose configurations or products: the service pack CD-ROM contains fixes for all configurations and products available at the time it is built. Fixes are installed for the configurations and products detected in your installation
- unlike a normal installation, you are not allowed to start a session directly at the end of the installation procedure.
$HOME/cxinst.log
Installing a Service Pack in Batch Mode on UNIX
start [-b] [-bC]
     [-s] [-u unloaddir] [-v] [-killprocess][-h]
-b: performs batch setup (optional if another batch option other than -s is used) but does not commit the service pack-bc: installs in batch mode and automatically commits the service pack-u: specifies the unload directory (by default,/usr/DassaultSystemes/B20)-v: verbose mode-killprocess: detects running processes (for example, Orbix) in the installation folder (unload_dir/code/bin) and terminates them before installing the service pack; at the end of the installation, the Orbix process is restarted.
-h: help.
Error Codes
The following error codes may appear for a service pack installation:
| 0 | Installation OK |
| 1 | Insufficient privilege |
| 2 | Bad environment |
| 4 | Bad media |
| 5 | Bad options |
| 6 | No installed GA |
| 8 | Installation problem |
| 9 | Allocation problem |
| 10 | No need to install service pack |
Examples
start -u /home/install/DassaultSystemes/B20 -bC: in batch mode, installs and automatically commits the service pack in /home/install/DassaultSystemes/B20start -u install_dir: installs in the install directory without automatic commitstart -u /mydirectory: in batch mode, installs in the directory "/mydirectory" without music and without automatic commit.
![]()