This task shows you how to blank annotations and dimensions.
To ensure the readability of documents, it is possible to display (and/or print) all around the text string of annotations and dimensions, a rectangle that blanks elements such as pictures or area fills when the annotation overlaps with these kinds of elements.
-
Click Area Fill Creation
 in the
Dress-up
toolbar (Area
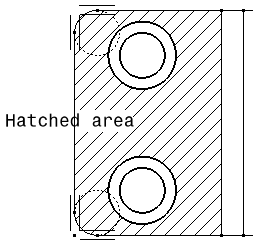
Fill sub-toolbar) to fill an area. Hatch the rectangular half area excluding the
circles.
 -
Click Text
 in the Annotations toolbar (Text
sub-toolbar).
-
Click where you want to insert the free text on the drawing. Enter the text in the Text Editor dialog box.
-
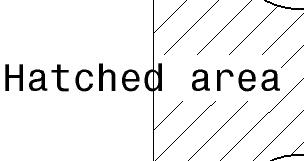
Drag and place the text such that it is half inside the area fill.
-
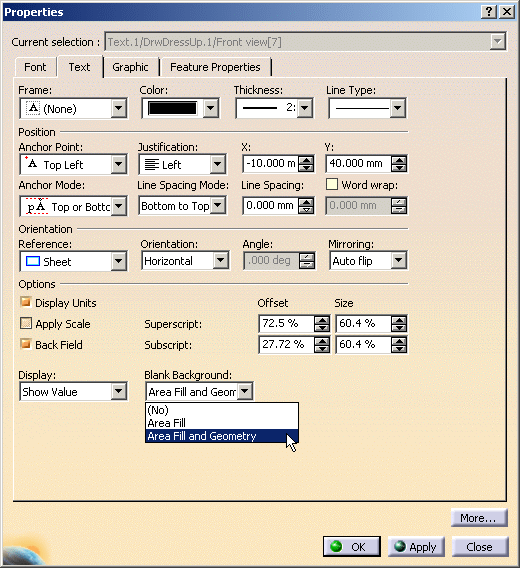
Right-click the text and select Properties. The Properties dialog box is displayed.
-
Select the Text tab. In the Blank Background drop-down list we have three modes available:
- (No): No blanking rectangle is created around the annotation or dimension.
- Area Fill: A blanking polygon overlaps the area fill. This is the default mode.
- Area Fill and Geometry: A blanking polygon overlaps both area fill and geometry.
-
Select Area Fill and Geometry option from the drop-down list. You can see that the area fill and geometry (vertical line) are both blanked to make the text more readable.
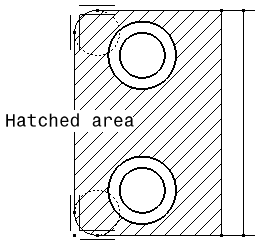
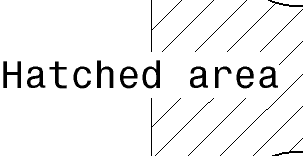

The geometry here refers to the following: - Callout profile geometry
- Dress-up elements such as centerlines, axis lines and threads
- Extension lines of dimensions and leaders
- Folding lines of views
- Geometrical constraints
- Grid
- View frames
- All wireframe geometries, which include interactive 2D geometry, generated items and 3D wireframe of view background (for 2D Layout for 3D Design only)
- Points that include interactive 2D geometry, generated points, 3D points of view background (for 2D Layout for 3D Design only)
- 3D background surfaces (for 2D Layout for 3D Design only).
The administrator can customize the annotation blanking properties in blank background (Tools > Standards > Drafting > [standard name] > Annotations > Blank Background).
- For pre-R18 CATDrawings, only Yes/No option was available for the Area Fill blanking property. If the standard is upgraded, the annotation will follow the behavior defined in the new standard. The default blank background property Area Fill will be applied, if the previous option selected was Yes.
- The symbol for each extremity of an arrow is not blanked. This includes the callout and detail callout leaders also.
- The FTA annotations displayed in the 2D Layout view cannot be blanked.
- When using the Area Fill and Geometry option on an annotation with leader, a no blanking zone, perpendicular to the leader direction is applied to let the focused geometry be visible. This behavior may be incorrect for a pointed geometry with a small angle.
![]()