This task explains how to map a sample environment onto a surface generated using the FreeStyle Shaper.
- The different mapping analyses of the same surfaces cannot be displayed simultaneously, even if you have set the mapping analyzes in no show. You need to visualize them one after the other.
Open the FreeStyle_Part_24.CATPart document:
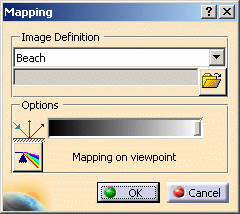
The Mapping dialog box is displayed.

-
Define the type of mapping to be applied using the drop-down list.
You can also import an
image file (of type .jpg, .bmp, .rgb) using the Browse icon:
![]()
-
Select one or more surfaces and apply different image definitions.
-
Set the reflectivity coefficient which defines the transparency of the texture using the slider.
The preview area lets you fine-tune these parameters.
-
Click OK.
You can click the
![]() icon to perform a global
analysis.
icon to perform a global
analysis.
The analysis (identified as Environment Mapping Analysis.x) is added to the specification tree.
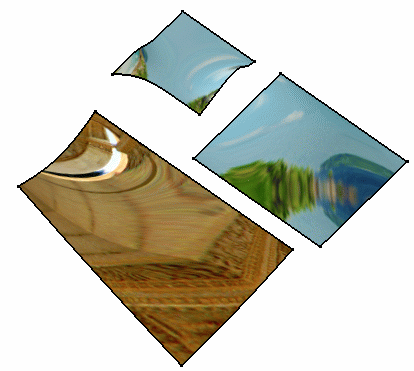
The surfaces automatically reflect your mapping definition. It could look like this:
