 |
-
Select the parent process or preceding activity for
the define activity (for this example, the Define Cylinder activity).
-
On the Inspection Activities toolbar,
select the Define Cylinders . .
| The Define Cylinder dialog box appears. |
-
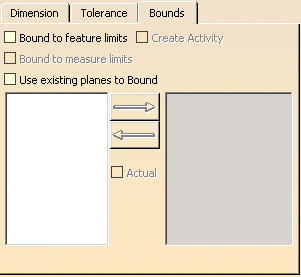
Select the Bounds tab.
 |
| The values preselected (or not) in this dialog box are
dependent on the values selected in
Tools>Options>Inspection>Inspect DPM>Feature Bounds. |
-
Select either Bound to feature limits or
Use existing planes to Bound.
- Selecting Bound to feature limits means that DMIS
creates the bounding planes automatically
- Selecting Use existing planes to Bound allows the
user to select the planes. A list of possible planes
appears in the left box. Users select the planes from the
left box and use the right-pointing arrow to make the plane a
bound. The left-pointing arrow can be used to make any
corrections. The default value for the planes is that they
are the nominal planes; selecting the Actual option uses the
actual plane.
|
-
(Optional) Select Create Activity.
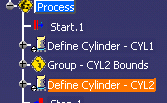
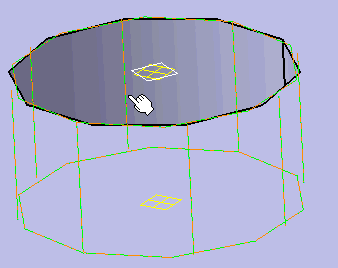
| When an activity is not created, the planes are merely created
in DMIS. Creating an activity puts the bounding planes as a
separate activity in the PPR tree and on the geometry. |
 |
 |
-
(Optional) Select Bound to measure
limits.
| In this case, the bounding plane is limited to the
measure. |
 |
This option is not available for constructed features. |
-
Select the OK button when the feature
definition is complete.
|
![]()