This procedure describes how to view the existing positions for an activity.
This procedure requires that a position object has been defined and is present in the Mfg Positions node of a given activity of the PPR tree.
-
Click Show Positions in Process Context
 .
. -
Select an activity in the PPR tree that has defined positions for the resources or items assigned to it.
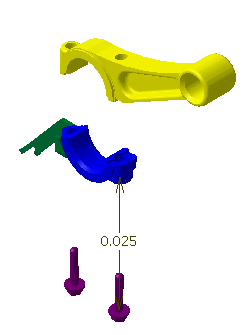
A 3D preview window opens that contains the positioned objects and resources of the selected activity. If the position is in reference to another object, the reference object also appears. 
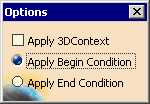
The Options dialog box also appears. 
By default, Apply Begin Condition is selected. In the example above, the reference object is the entire piston rod assembly; the begin condition is that the two bolts are in the out position. After an activity has been selected, you are in the Show Positions context, and Show Positions in Process Context  changes to
Return to Workbench
 .
. -
Select the Apply 3D Context check box.
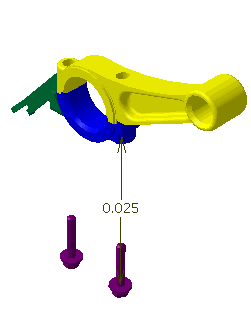
The 3D context, which has the rod on top of the cap, appears with the begin condition. 
-
Select Apply End Condition.
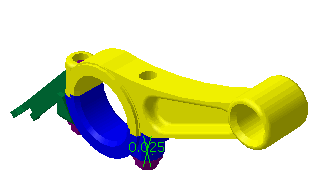
The end condition appears. 
-
Click Return to Workbench
 to exit the Show Positions context.
When the system exits the Show Positions context, all product positions are restored to their original state when the command was initiated.