Please note that the roughing takes all the elements defined in the OpenBody into account, but not the Hide/Show status of the sub-elements.
The menus available and the setup of the dialog boxes may change depending on the workbench you are working in.
-
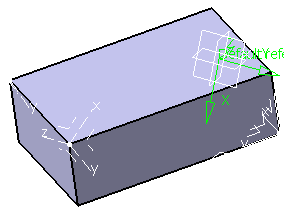
Open file AutoRoughStock.CATPart in the samples directory.

-
Select the Creates rough stock icon
 .
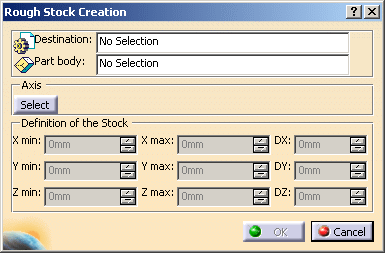
The dialog box is displayed

-
Select the Destination, i.e. select the specification tree body where the rough stock is to be created.
Pick the part on which the rough stock is to be created. The Part body information is updated accordingly.
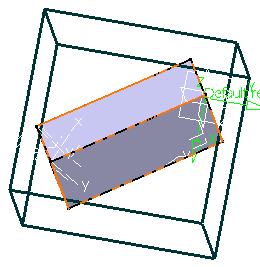
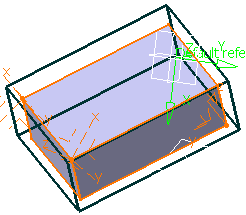
A dialog box is updated with the minimum and maximum values that are required in X, Y and Z to create
a box that would surround the part. The default box is displayed in bold dark lines.

-
You can modify the X,Y,Z values if you choose.

-
You can also change the axis system used to define the rough stock by clicking
on Select and then choosing either:- an axis in one of the other axis systems,
- a plane
- or a planar surface.
-
Click OK to create the rough stock.
![]()