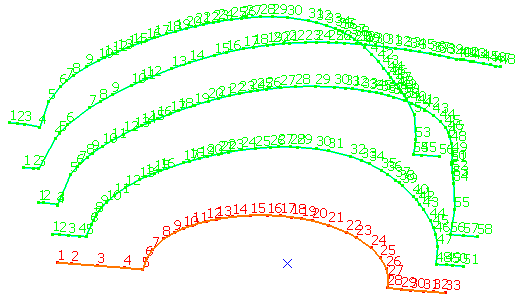
- ScanAddPoint1.CATPart to add a point, to divide, to invert or to sort a scan.
- ScanMerge1.CATPart to merge scans
- ScanReorient1.CATPart to re-orient scans.
-
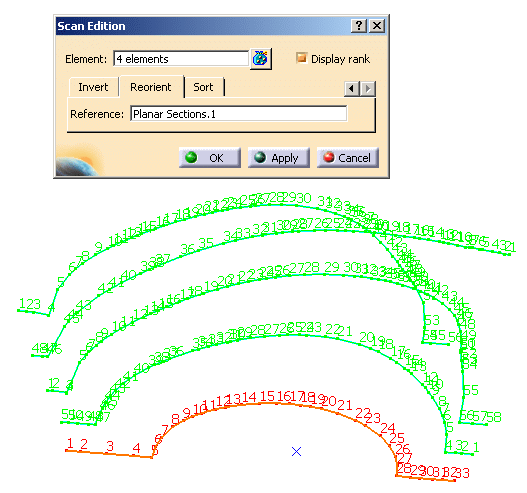
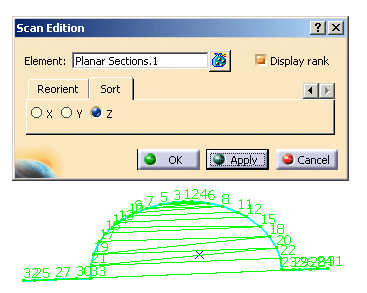
Click Scan Edition
 and select the scan to edit.
The Scan Edition dialog box is displayed.
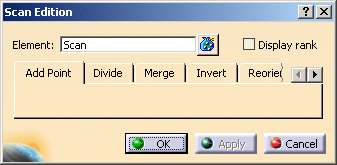
Display rank is not selected by default:

Select is to display the rank of the scan points:

-
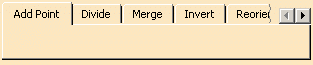
Each tab of the dialog box correspond to a possible editing action.
Go to the tab corresponding to your need.
Proceed as explained below.
Click Apply and OK.
Add Point
-
To add a point to this scan:
Pick Point.4. It is added to the scan.
The point must be an existing point (GSD point, curve extremity, etc.). -
Click OK to validate and exit. No new scan is created.
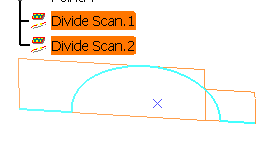
Divide

-
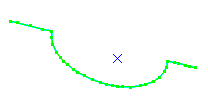
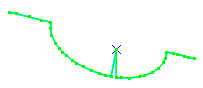
To divide this scan:
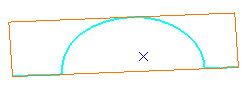
Pick a position on the scan:

-
Click OK. The scan is divided into Divide Scan.1 and Divide Scan.2.
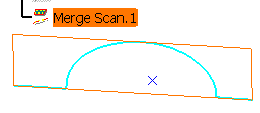
Merge

-
To merge two scans, select them using the multi-selection,
-
Enter a Tolerance value.
Click Apply.
- If the gap between the two scans is lower than the Tolerance value, the two scans are merged.
- If the gap between the two scans is greater than the Tolerance value, a message is displayed. No merge is done.
-
Click OK. The two scans are merged into Merge Scan.1.
Invert

-
To invert this scan:

select it, go to the Invert tab and click Apply. The scan is inverted. -
Click OK.
The inverted scan Invert Scan.1 is created:

Reorient

-
Select the scans to reorient using the multi-selection..
Select the reference scan that will impose its orientation to the other scans.
It is displayed in red.
-
Click Apply. The scans that did not have the same orientation than the reference one are reoriented. No new scan is created.
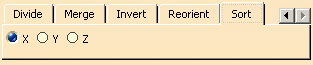
Sort
-
To sort this scan in the Z direction
Select it and select Z in the dialog box. -
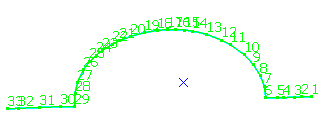
Click Apply. The scan is sorted:
-
Click OK. Sort Scan.1 is created:

![]()