-
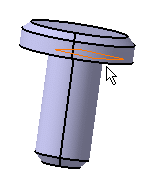
Select the plane on which you need to sketch a new profile and enter the Sketcher workbench.

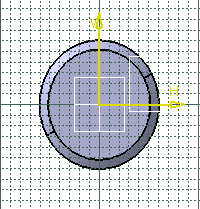
Once in the Sketcher, you obtain this view, which does not show the edges you want to see.

-
Click Cut Part by Sketch Plane
 in the Visualization toolbar to hide the portion of part you
do not want to see in the Sketcher.
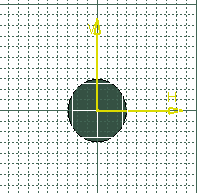
You obtain this view without the material existing above the sketch plane.
The edges corresponding to the shell are now visible. The edges resulting from the intersection are not visualized and therefore cannot be selected.

About Sectioning Solids Which are Intersecting
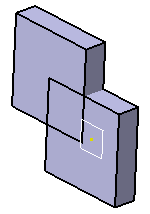
When using slice or box tools, note the visualization is not correct because the intersection between the two solids is not retrieved properly, i.e. it is not visualized and a cavity appears where material should be. Only each object specific section results are displayed.
 |
 |