-
Right-click the Datum scheme capture and select Unset Current form the contextual menu, right-click the Hole positioning capture and select Set Current form the contextual menu.

-
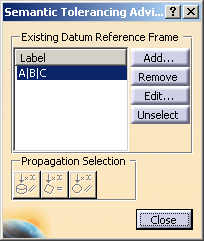
Select the datum reference frame in the Semantic Tolerancing Advisor dialog box.
-
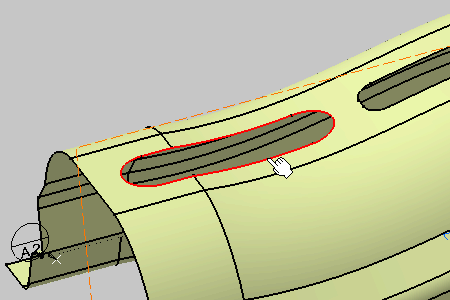
Select the whole hole edges as shown on the part.
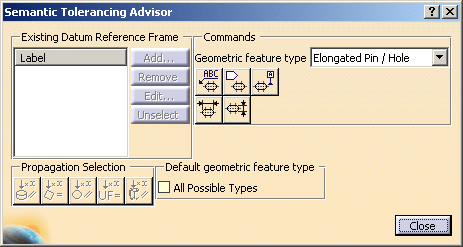
The Semantic Tolerancing Advisor dialog box is updated. Note the geometric feature type: Elongated Pin/Hole. 
The Propagation Selection options are displayed according to the type of face selected depending on the canonicity. In this scenario the options are not used. For more information, refer to Propagating Geometry Selection for Feature Creation. -
Click the Position with DRF Specification icon:

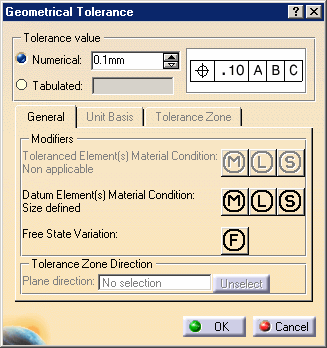
The Geometrical Tolerance dialog box appears. Keep options as is. -
Click the OK in the dialog box.
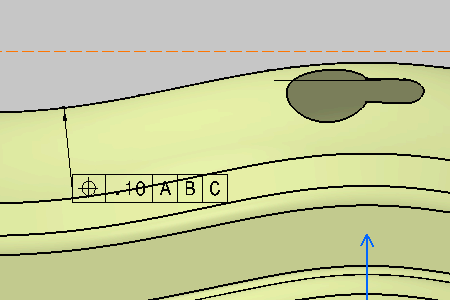
The geometrical tolerances is created. 
The geometrical tolerances is created in the specification tree. -
Select the datum reference frame in the Semantic Tolerancing Advisor dialog box.

-
Select the whole hole edges as shown on the part.
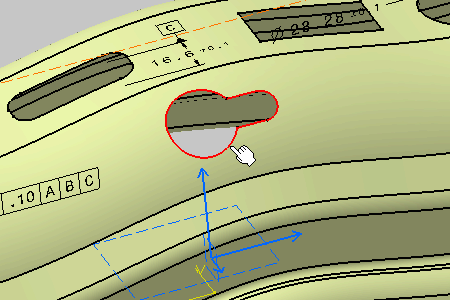
The Semantic Tolerancing Advisor dialog box is updated. Note the geometric feature type: Non cylindrical Pin/Hole. -
Click the Position with DRF Specification icon (Non cylindrical Pin / Hole):

The Geometrical Tolerance dialog box appears. Keep options as is.
-
Click the OK in the dialog box.
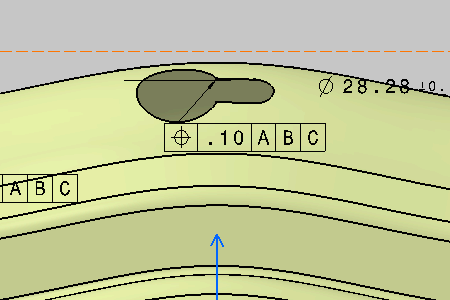
The geometrical tolerance is created. 
The geometrical tolerance is created in the specification tree. -
Do not close the Semantic Tolerancing Advisor dialog box to perform the next task.
-
An edge is considered as a plane by the Tolerancing Advisor:
-
if it is a line in a sketch.
-
or if it is an edge in a surface and is originated from a line in a sketch by extruding or projecting the sketch along the direction that is parallel to the normal of the sketch.
-
or if it is an edge in a surface feature and is originated from a Generative Shape Design line by extruding or projecting it along a direction that is perpendicular to the line.
The plane is obtained by extruding the line along the extrusion or projection direction.
-
-
An edge is considered as a cylinder by the Tolerancing Advisor:
-
if it is a circle or an arc of circle in a sketch,
-
or if it is an edge in a surface and is originated from a circle or an arc of circle in a sketch by extruding or projecting the sketch along the direction that is parallel to the normal of the sketch.
-
or if it is an edge in a surface and is originated from a Generative Shape Design circle or an arc of circle by extruding or projecting it along its axis.
The cylinder is obtained by extruding the circle or the arc of the circle along the extrusion or projection direction.
-
-
If an Intersect feature has been used in generating the edge, it is not considered as a plane or a cylinder. You should use the Split feature instead of Intersect feature to generate a hole in the surface.