Open the
Constraint1.CATPart document.
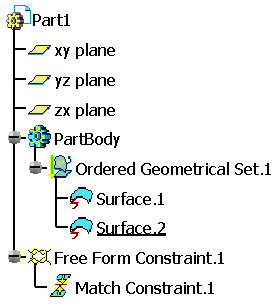
Make sure the Constraints option is selected in
Tools > Options > Infrastructure > Part Infrastructure > Display
tab, so that you are able to see the constraints in the specification tree.
-
Click Matching Constraint
 in the FreeStyle Constraints toolbar.
 -
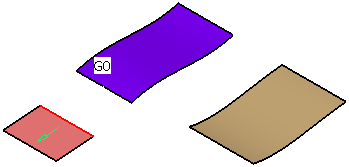
Select the edge of the surface to be matched.
The boundary is highlighted. 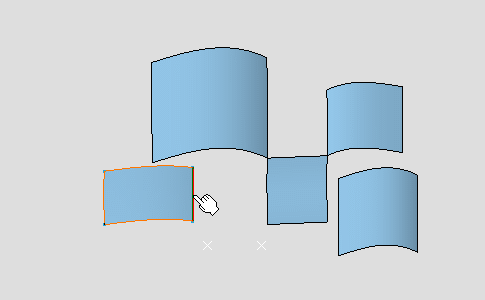
-
Move the pointer onto the second surface.
-
Click the surface when the adequate boundary is highlighted.
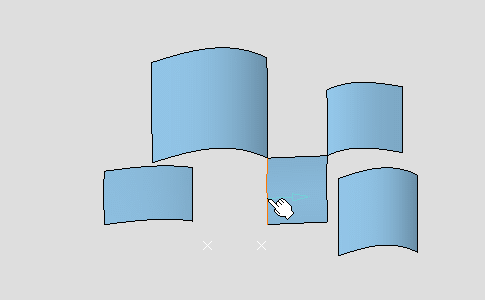
As the Partly option is selected, two green manipulators represent the projection of the source element onto the target element.
These manipulators can be moved along the edge.
-
Click Apply.
The surface is modified according to the options. 
-
Clear the
 Partly option and click Apply again.
The surface is modified on all the edge. 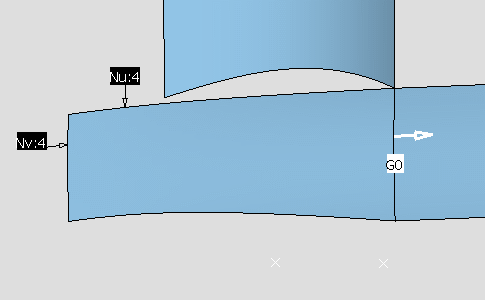
Right-click the continuity type to display the contextual menu, you are able to: - Modify the chosen type: Point continuity (G0), Tangent continuity (G1),Curvature continuity (G2) or G3 continuity (G3).
- Activate/Deactivate: Activates/deactivates the constraint.
- Update Network: Updates the constraints linked ones with the others, from the selected constraint and while taking into account their creation order.
- Apply Constraint: Updates locally the constraint.
- Delete: Deletes the constraint.
-
Click OK in the Match Constraint dialog box.

Click OK button does not perform the Apply operation. -
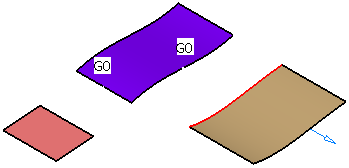
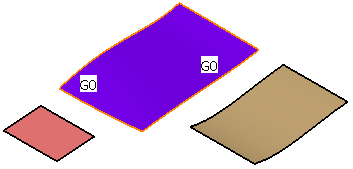
Create several constraints like these.
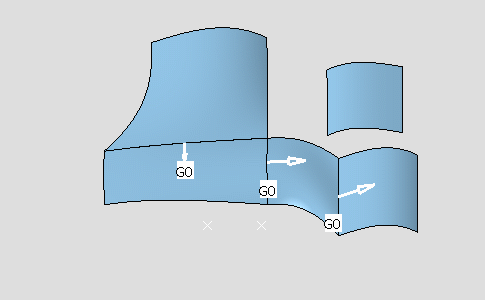
-
Right-click the G0 (tangent) continuity as show and change the continuity type to G2 (curvature).
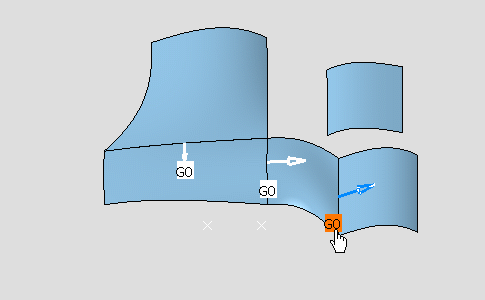
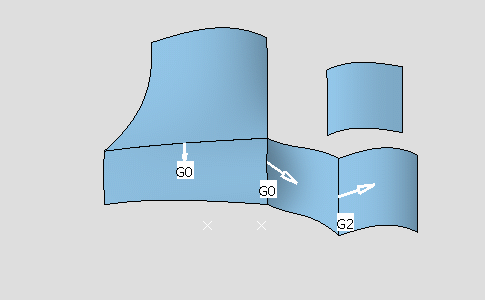
-
Click the G2 (Curvature) continuity arrow to reverse the direction of the constraint.
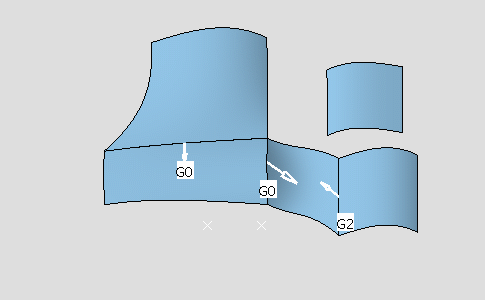
-
Right-click a G0 continuity and deactivate it.
Color of the continuity indicates its activating status: - White, activated.
- Green-yellow, deactivated.
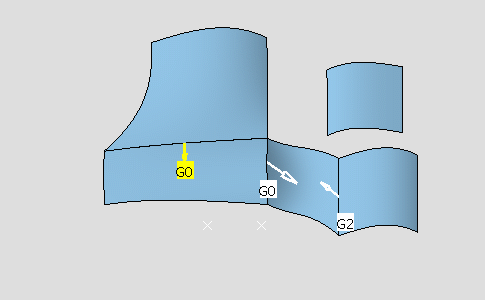
-
Select the Surface.2 and click Control Points
 in Shape Modification toolbar
to display the control points and mesh lines on the surface, allowing you
to dynamically modify them.
in Shape Modification toolbar
to display the control points and mesh lines on the surface, allowing you
to dynamically modify them.The source surface deforms so that the neighboring constraints are automatically updated.
Note that the deactivated constraint is not taken into account.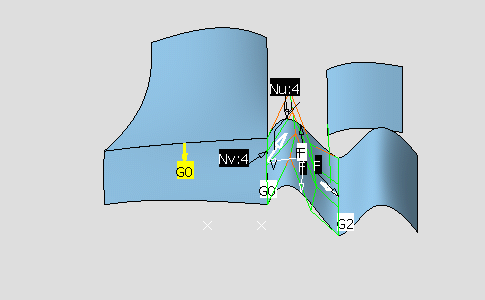

- You can create as many constraints as there are elements.
- You can deactivate the constraints using the Deactivate contextual menu.
- Constraints created using this command are very similar to the constraints created in the Part Design and the Sketcher workbenches: they are compatible and are solved using a variational approach.
-
Click Cancel in the Control Points dialog box.
-
Select the Surface.2 and click In Model or on Perch
 in the Quick Compass Orientation toolbar,
to switch the compass from the perch to the selected surface, see
Managing the Compass.
 -
Use the compass to move the surface.
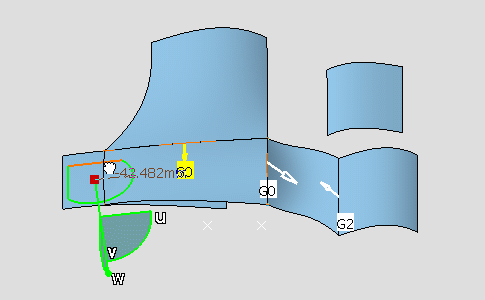
All the constraints are updated accordingly, except the deactivated constraint. 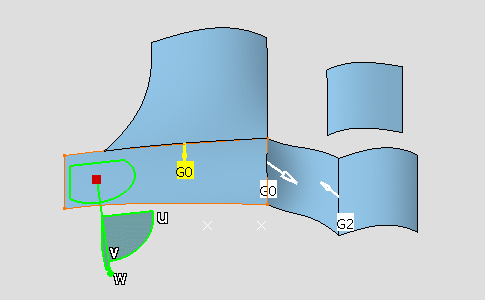
- If you want to delete a constraint, delete it in the specification tree, under the Free Form Constraint.X node. However, it is also possible to delete the constraint using the contextual menu or in the 3D, by selecting the constraint and hit Delete key.
- You can get the result of multiple constraints surface is a mean surface between each constraint result by selecting Mean Surface Solver option in Tools > Options > Shape > FreeStyle > General tab, Matching Constraint command options area. If a surface is modified by two constraints, the results for the two constraints are computed separately. The final result is a mean surface between those two intermediate results.
- If several constraints are linked together and either the target
or source element of a constraint is modified, then all the linked
constraints are updated. The constraint taking the modified
element as its input is updated last. This is to ensure that the
continuity is maintained on the modified element.
After the update process, the continuity created by the constraint that is not the last one to be updated may not be met. In such a case use the Apply Constraint contextual menu on the constraint.
Open the
Constraint2.CATPart document.
Select Mean Surface Solver option in Tools > Options >
Shape > FreeStyle > General tab,
Matching Constraint command options
area.
|
Constraints can only be set on datum elements.

