-
Click the 4-Point Patch icon
 .
.
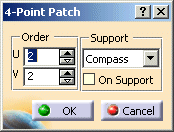
The 4-Point Patch dialog box opens.

-
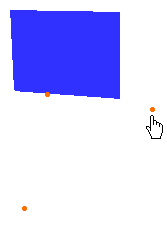
Click on the first point.
You can either select existing points or indicate points on geometry or the main plane of the compass.

-
Click two other points.

-
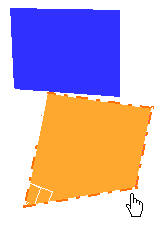
Click anywhere in the graphic area to create the last point used in the surface definition.

-
Click OK to create the surface.
- Order: Order of the new surface.
- U: Order in u-Direction of the new surface.
- V: Order in v-Direction of the new surface.
- Plane: The 4 points are in the chosen plane or in a plane to this plane.
- Plane: The plane of the Plane Tool is the chosen plane.
- Compass: The plane of the Compass is the chosen plane.
If no geometric object is selected the input point is on this chosen plane.
If a geometric object is selected a new (not visible) plane is available. This point and all following points are placed on this (not visible) plane. The (not visible) plane runs through the selected and is parallel to the chosen plane.
If for one of the following points a geometric object is selected, a new (not visible) plane is created and ... it works in the same way. - On Support:
![]()