
| Note: The Display Set Default cannot be deleted. |
-
Click the Display Sets icon
 .
.The 'Display Sets' dialog box is displayed.
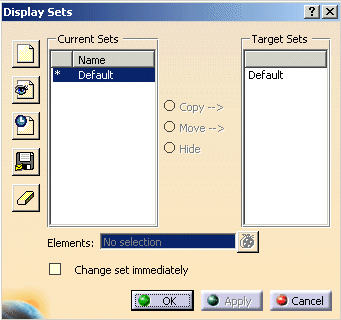
 Create new empty Set: This option will create a new set
in which all geometry is in the Hide status.
 Create new Set containing all visible objects
: With this option you can create a new set in which all currently visible elements are set to Show and all other elements
are set to Hide.
 Create a temporary Set: With this option
you can create a temporary set, which will be deleted by leaving this option.
 Save Set : This option
will save the currently visible status of the geometry in the current set.
 Delete Set : The current set must not be deleted. Only
if no other set except the Default set exists can this set be deleted,too. If you subsequently leave the dialog box, the whole
feature will be deleted. When the dialog box is activated the next time, a new feature is created.
- Current Sets: The list under Current Sets includes all existing sets. The currents set is marked by
*.
The following options allow the status of the elements in one set to be adopted in a different set:
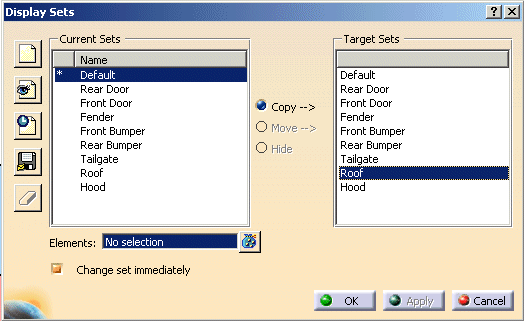
- Copy - > : This option copies the status of the selected elements.
-
Select in the field Target Sets the Display Set Roof.
-
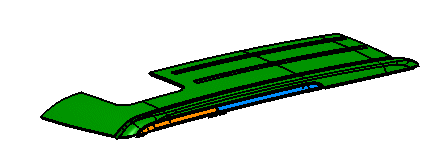
Select the roof surfaces with a Rectangle Selection Trap. The number of the selected elements is displayed in the field Elements.
Click Copy.

-
Double-clicking on the Display Set Roof in Current Sets activates the Display Set Roof. It is marked by *. The selected roof surfaces are now the only visible geometry.
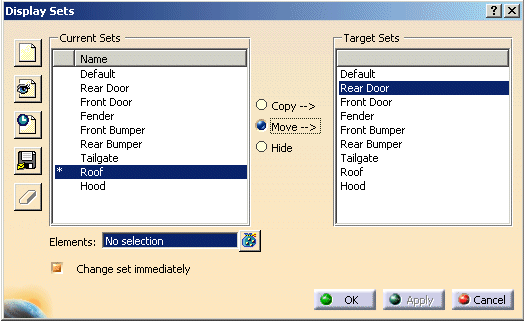
- Move - > : This option sets the status of the selected elements in Current Sets to Hide and in Target Sets to the status these elements had in Current Sets.
-
Select the Display Set Roof in Current Sets and make it to the active Display Set.
-
Select the Display Set Rear Door in Target Sets.
Now the selection field Elements is active.
-
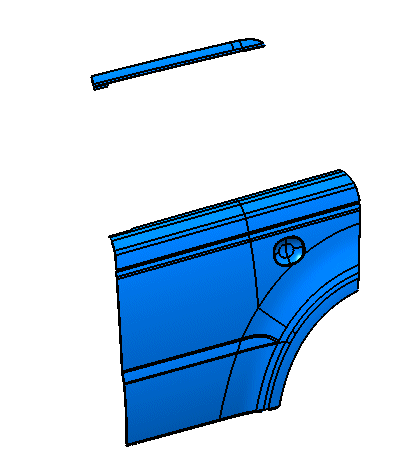
Select the blue surfaces.
Activate the button Move.

-
Click Apply.
The blue surfaces have been moved out of the Display Set Roof. The blue surfaces are now in the Display Set Rear Door.

-
Double-clicking on the Display Set Rear Door in Current Sets makes this to the active one. The blue surfaces are now in the Display Set Rear Door.
- Hide: This option sets the status of the selected elements in the selected set to Hide.
You can activate a set by double-clicking on it in the left column. Geometrical Sets or any other geometry can be selected.
- Elements: The elements field displays the number of selected elements.
- Change set immediately
ON: After Copy/Move the target set is the active one.
OFF: After Copy/Move the target set is not activated automatically.