This may be useful if you want to make sure that a view you are done working with, is not modified while you work on another view.
- create either annotations, dimensions, geometry or use-edges on this locked view.
- change or modify the filter applied to this locked view.
- activate or deactivate the view clipping frame.
- clip or unclip this locked view, or modify the clipping outline of this locked view.
- activate or deactivate the back-clipping plane of this locked view, or modify the depth of the back-clipping plane which is applied to this locked view.
- change the view support of this locked view .
- change the background visualization mode of this locked view.
- activate or deactivate the 2D visualization mode on this locked view.
- update, delete or cut the locked view.
-
Right-click the view to be modified (either the view frame or the view itself). The contextual menu is displayed.
-
Select Properties.
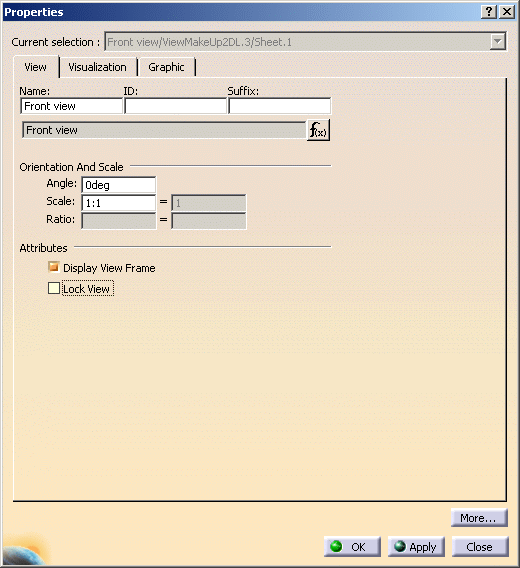
The Properties dialog box is displayed. 
-
In the View tab, select the Lock View check box.
The other fields are grayed out, indicating that you can no longer edit them. -
Click OK to lock the view and exit the dialog box.
The view is locked, which is indicated by a lock in the specification tree. You can see the lock on Front view in the specification tree.
- You can move locked views.
-
As is the case for the background of other views, the background of locked views is transparent. Therefore, its visualization may differ depending on modifications performed in the 3D window.
![]()