This task shows how to create fill surfaces between a number of boundary segments.
Open the Fill1.CATPart document.
-
Click Fill
 .
.The Fill Surface Definition dialog box appears. -
Select curves or surface edges to form a closed boundary.

You can select a support surface for each curve or edge. In this case continuity will be assured between the fill surface and selected support surfaces. -
Use the combo to specify the desired continuity type between any selected support surfaces and the fill surface: Point, Tangent, or Curvature.
The fill surface is displayed within the boundary. 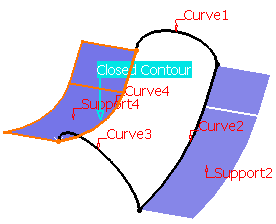
-
You can edit the boundary by first selecting an element in the dialog box list then choosing a button to either:
-
Add a new element after or before the selected one
-
Remove the selected element
-
Replace the selected element by another curve
-
Replace the selected support element by another support surface
-
Remove the selected support element.
-
-
Select the Deviation check box, and enter a value to fill the gaps present.

In the Tools > Options > Shape > Generative Shape Design > General tab, - If the Continuity Type is either Tangency or Curvature, the Deviation check box is selected by default.
- The Maximum deviation value is taken as the deviation value for the fill.

- If the gap between the two contours is greater than the maximum deviation, the gap is not filled, and the resulting surface still displays a gap.
-
Click OK to create the fill surface.
The surface (identified as Fill.xxx) is added to the specification tree. 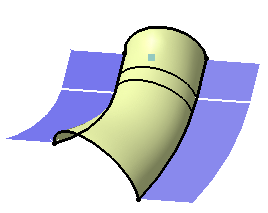
Filling surface with specified supports
-
The selected curves or surfaces edges can intersect. Therefore a relimitation of the intersecting boundaries is performed to allow the creation of the fill surface.
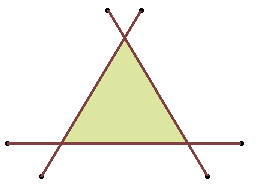
-
The selected curves or surface edges can have non-coincident boundaries. Therefore, an extrapolation is performed to allow the creation of the fill surface.
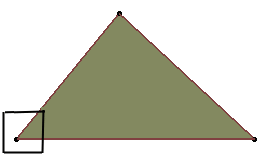
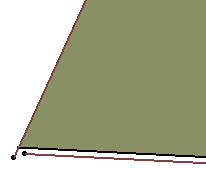
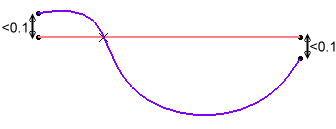
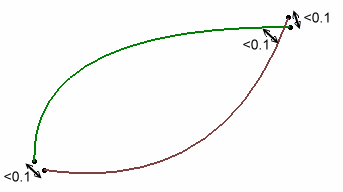
- A two-side fill surface cannot be created in the following ambiguous
cases:
- one intersection and two distances below 0.1 mm
- no true intersection (therefore there may be several distances
below 0.1 mm)
- one intersection and two distances below 0.1 mm
![]()