-
Create three more plies, each having a proper direction.
-
Perform a producibility analysis on each of the plies.
-
Click the Producibility Inspection icon
 .
.
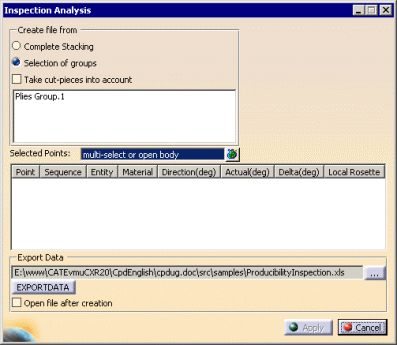
The Inspection Analysis dialog box is displayed.

-
Select the Plies Group on which you want to perform the analysis.
In our scenario we selected Plies Group.1.
You can also perform the inspection analysis on the whole stacking, in that case, select Complete Stacking. -
Click the Multi-selection icon at the right of the selected Points field.
-
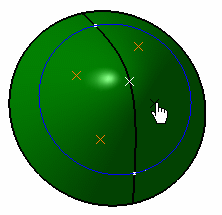
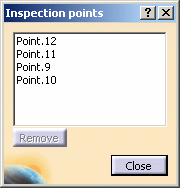
Select several inspection points on the ply, then close the Inspection points dialog box.

A core sample analysis is made for each point, so make sure they are inside the ply, otherwise the analysis cannot be performed. 

-
If needed, click to select Export to generate an excel file containing the inspection parameters.
Use the ... button to define the path where to store the staggering data file. -
Click to select Open file after creation to check the inspection parameters.
-
Click Apply to start the analysis.
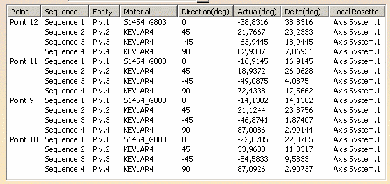
The excel file opens and the parameters are displayed in the Inspection Analysis dialog box.

See Using Non Crimp Fabrics for specific information.
- delta: angle of deviation computed by the produciblity analysis, that is angle between the transferred theoretical rosette and the actual fiber direction (along the X axis).
- actual: difference between the nominal direction of the ply and the delta.
![]()