|
-
Select the parent process or preceding activity for
the define plane activity.
-
On the Inspection Activities
toolbar, click
Define Plane . .
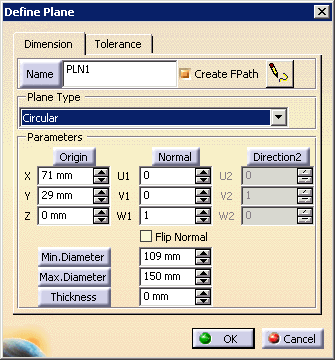
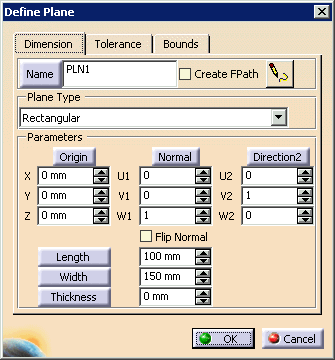
| The Define Plane dialog box appears. |
 |
 |
You can select the Name button, select an item from
the geometry, and the feature will take that item's name. |
| |
When you first create a feature, you need to select a
thickness for it. Inspect uses that thickness value as the
default value thereafter. |
 |
See also Using Bounds. |
-
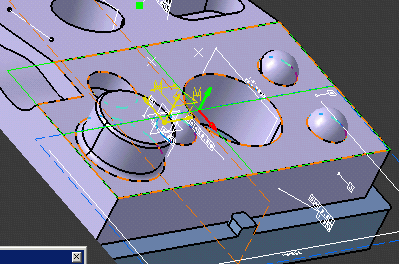
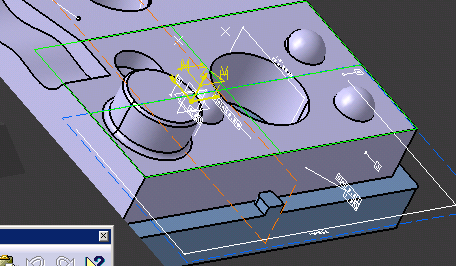
On the 3D geometry, select the plane.
| Once selected, the plane is highlighted and a
green arrow, signifying normal, protrudes from it. The
direction of normal can be flipped by checking the box on the
dialog box. |
 |
| The dialog box also contains the data for the
plane selected. |
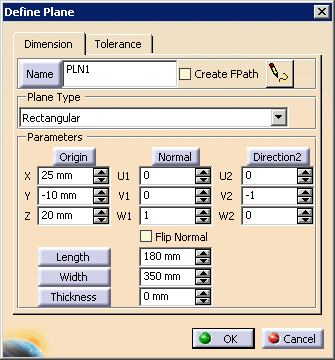 |
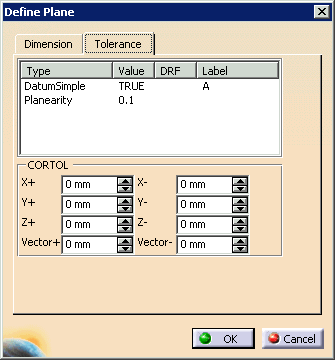
| By switching to the Tolerance tab, you
can see the tolerance data associated with the selected plane. |
 |
|
|
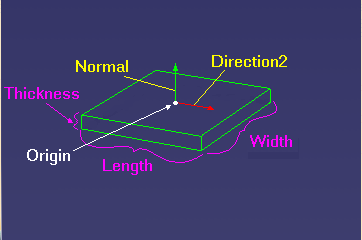
For an image defining the dimensions, click on the button. The image appears.
 |
| |
 |
| |
You can also alter the direction of Origin, Normal,
Direction2, Length, Width, and Thickness by selecting the buttons
with those parameter names. |
| |
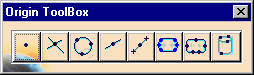
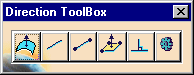
If you select any of these buttons, the dialog box disappears,
and the appropriate toolbox appears in its place. Select the
button on the toolbar that changes the direction as desired. |
| |
 |
|
|
See About the Toolboxes for
information on using the toolboxes. |
-
Select the OK button.
| The activity is added to the PPR tree. |
| The defined plane appears highlighted on the part geometry. |
 |
| You may enter a name for the plane in the name frame. |
|